Contact Us
HOUSEOWNER SPECIFIER TRADE
Cart Close

Your cart is currently empty.

BLOG

How to Install Window Head Flashing with Weathertex Panels and Weatherboards


Installing window head flashing with Weathertex cladding requires more than cutting a board to fit above a window. The window opening must be taped, cut edges treated, the flashing sealed into the wall’s water-management layer, and the cladding positioned with the correct clearance.


Two dimensions are central to the detail: the head flashing extends 50 mm beyond each side of the window, and the cladding above it remains 10 mm clear of the flashing. These principles apply to the Selflok, Weathergroove and Primelok installations described below, with an additional Z flashing detail where Weathergroove meets another Weathertex product.


For natural and primed products, confirm the requirements for your selected profile and finish before starting.


New Zealand installations have different requirements and should not use this detail without checking the applicable local instructions.

Window Head Flashing: The Detail You Need to Get Right

Head flashing is the metal flashing installed above the window. Its connection to the surrounding cladding and wall membrane is important: water must not be able to enter behind the flashing or through an inadequately sealed window opening.


The installation combines several separate components:

  • Window-opening tape to protect the opening before cladding is fitted.
  • Flexible sealant at the window surround detail.
  • Head flashing extending beyond both sides of the window.
  • Tape across the top of the installed flashing to protect against water entering behind it.
  • A 10 mm clearance between the flashing and the lower edge of the cladding above. 


Do not treat these as interchangeable measures. A sealed surround does not remove the need to tape the flashing, and properly taped flashing does not remove the need for cladding clearance.

Check the Installation Dimensions Before Cutting

Use the following dimensions as a preparation checklist for the installation detail described here.


ItemRequirementWhere it applies
Ground clearanceBase of the Weathertex claddingBase of the Weathertex cladding
Stud spacing600 mm maximumSupporting wall framing
Wall membraneVapour-permeable sarkingBehind the cladding
Head flashing extension50 mm beyond each side of the windowBoth ends of the head flashing
Cladding-to-flashing clearance10 mmBetween the bottom of the board or panel and the head flashing

The 100 mm ground-clearance figure relates specifically to sealed ground. Do not assume it establishes the clearance for every other ground condition.

Before proceeding, check the current installation information for your product, location and wall construction. This is particularly important when applying these principles to a different profile or a New Zealand project.

Prepare the Window Opening and Surround


Check the window tape first

Inspect the window opening before bringing the cladding into the reveal. The opening should be properly taped so water cannot enter through an unprotected window detail.

This initial inspection is separate from the taping carried out over the head flashing later. Both stages need attention.


Choose the surround treatment

The window can be picture-framed using either a Weathertex window surround or LOSP-treated timber. The surround detail is sealed with flexible sealant before the head flashing is inserted.

Decide on the surround before measuring the adjacent cladding. The cut pieces need to fit the actual window and surround arrangement, not just the opening dimensions.


Treat newly cut edges

Where Weathertex is cut to fit the window detail, re-prime the exposed cut edges with a tannin-blocking, water-based primer. Do not leave this step until after the piece has been fixed, when the cut edge may be difficult to reach.

For natural and primed finishes, confirm the applicable edge-treatment instructions for the selected product rather than assuming every finishing detail is identical.

Install the Head Flashing and Cladding in the Right Sequence


1. Position the head flashing

Insert the head flashing above the window with 50 mm extending beyond each side. Allow for these projecting ends when planning the cuts in the surrounding cladding.

The cladding may need to be shaped around the flashing extension. Cutting only to the window width can leave a piece that cannot fit correctly around the metal.


2. Tape across the top of the flashing

Once the window and head flashing are in position, tape across the top of the flashing. This protects the connection against water entering behind the metal.

Complete this step before installing the cladding above, while the connection remains accessible.


3. Measure, cut and prime the cladding

Measure the board or panel against the installed window and flashing. Cut it to accommodate the window detail, including the flashing’s projecting ends, then treat the newly exposed cut edges.

A useful preparation sequence is:

  1. Confirm the flashing position and side extensions.
  2. Measure the required board or panel shape.
  3. Cut around the window and flashing projections.
  4. Re-prime the cut edges.
  5. Offer the piece into position and check its clearance.


4. Maintain the 10 mm gap

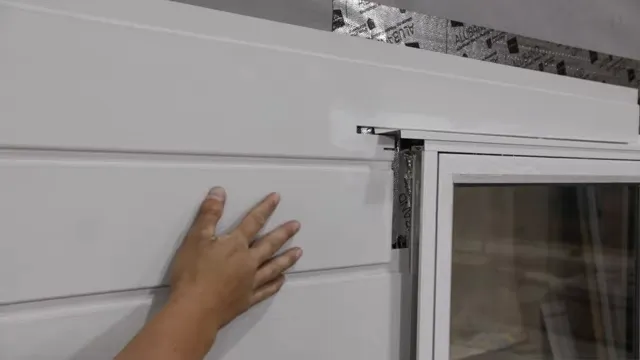
Position the lower edge of the cladding 10 mm above the head flashing. A packer can help establish the spacing during installation.

The board or panel must not sit directly on the head flashing. Check the clearance before fixing, rather than relying on the piece appearing approximately level.

Maintain 10 mm between the cladding’s lower edge and the head flashing

5. Fix the piece after checking the fit

Once the cladding is seated correctly and the gap is maintained, fix it using the requirements for the selected Weathertex profile. The clearance should remain intact after fixing.

How the Detail Changes Between Weathertex Profiles

The window-head principles remain consistent, but the way each product fits around the detail differs.


Selflok weatherboards

For Selflok, measure and cut the weatherboard to fit above the window and around the flashing ends. Treat the cut edges, position the board with a packer if needed, and maintain the 10 mm gap before fixing.

The critical check is the board’s lower edge: it must remain clear of the head flashing rather than resting on it.


Weathergroove panels

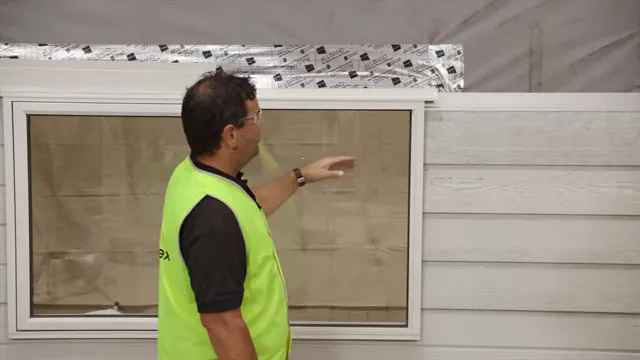
Weathergroove follows the same window-head clearance principle. Cut the panel to accommodate the window and the head flashing overhang, then position it with 10 mm clearance above the flashing.


Where Weathergroove is installed above another Weathertex product, a Z flashing is used at that junction to provide the waterproofing detail. The demonstrated Z flashing includes a small seating feature for the panel.


Keep these two junctions distinct: the panel’s relationship to the Z flashing does not remove the need for clearance above the window head flashing.

The panel cut must accommodate the head flashing’s projecting end.

Primelok weatherboards

Primelok is a 19 mm lapped weatherboard profile. In this window-head arrangement, the Z flashing used for the preceding Weathergroove junction is removed.


Cut the Primelok board around the head flashing’s 50 mm side extension, treat the cut edges, and fit the board while retaining the 10 mm gap beneath it. Fix only after confirming that the plank is not bearing on the head flashing.

Common Window Head Flashing Mistakes

  • Resting cladding directly on the flashing. Establish the 10 mm gap with a packer and check it before fixing.
  • Forgetting the flashing extensions when cutting. The cut must accommodate the metal extending 50 mm beyond each side of the window.
  • Leaving cut edges untreated. Re-prime exposed cuts before fitting the piece.
  • Taping the opening but not the flashing. The top of the installed head flashing needs its own taping step.
  • Overlooking a mixed-product junction. Weathergroove above another Weathertex product needs the appropriate Z flashing detail.
  • Applying the same arrangement in New Zealand without verification. Local requirements differ from the installation described here.


Final Checks Before Moving On

Before completing the surrounding cladding, confirm that:

  • The window opening is properly taped.
  • The chosen surround is sealed with flexible sealant.
  • The head flashing extends 50 mm beyond each side of the window.
  • The top of the flashing has been taped.
  • All newly cut Weathertex edges have been treated.
  • The cladding remains 10 mm above the head flashing after fixing.
  • Any Weathergroove-to-Weathertex junction has its required Z flashing.
  • The detail matches the current instructions for the product and installation location.


A reliable window-head installation depends on preparation, flashing integration and clearance working together. Measure around the installed flashing, protect the cut edges, and verify the gap before fixing each piece.

Primelok Window Detail

Weather Groove Window Detail

Read more from Weathertex!

Australia's prefab construction market has moved from novelty to necessity — and for builders working offsite, the right cladding makes all the difference.
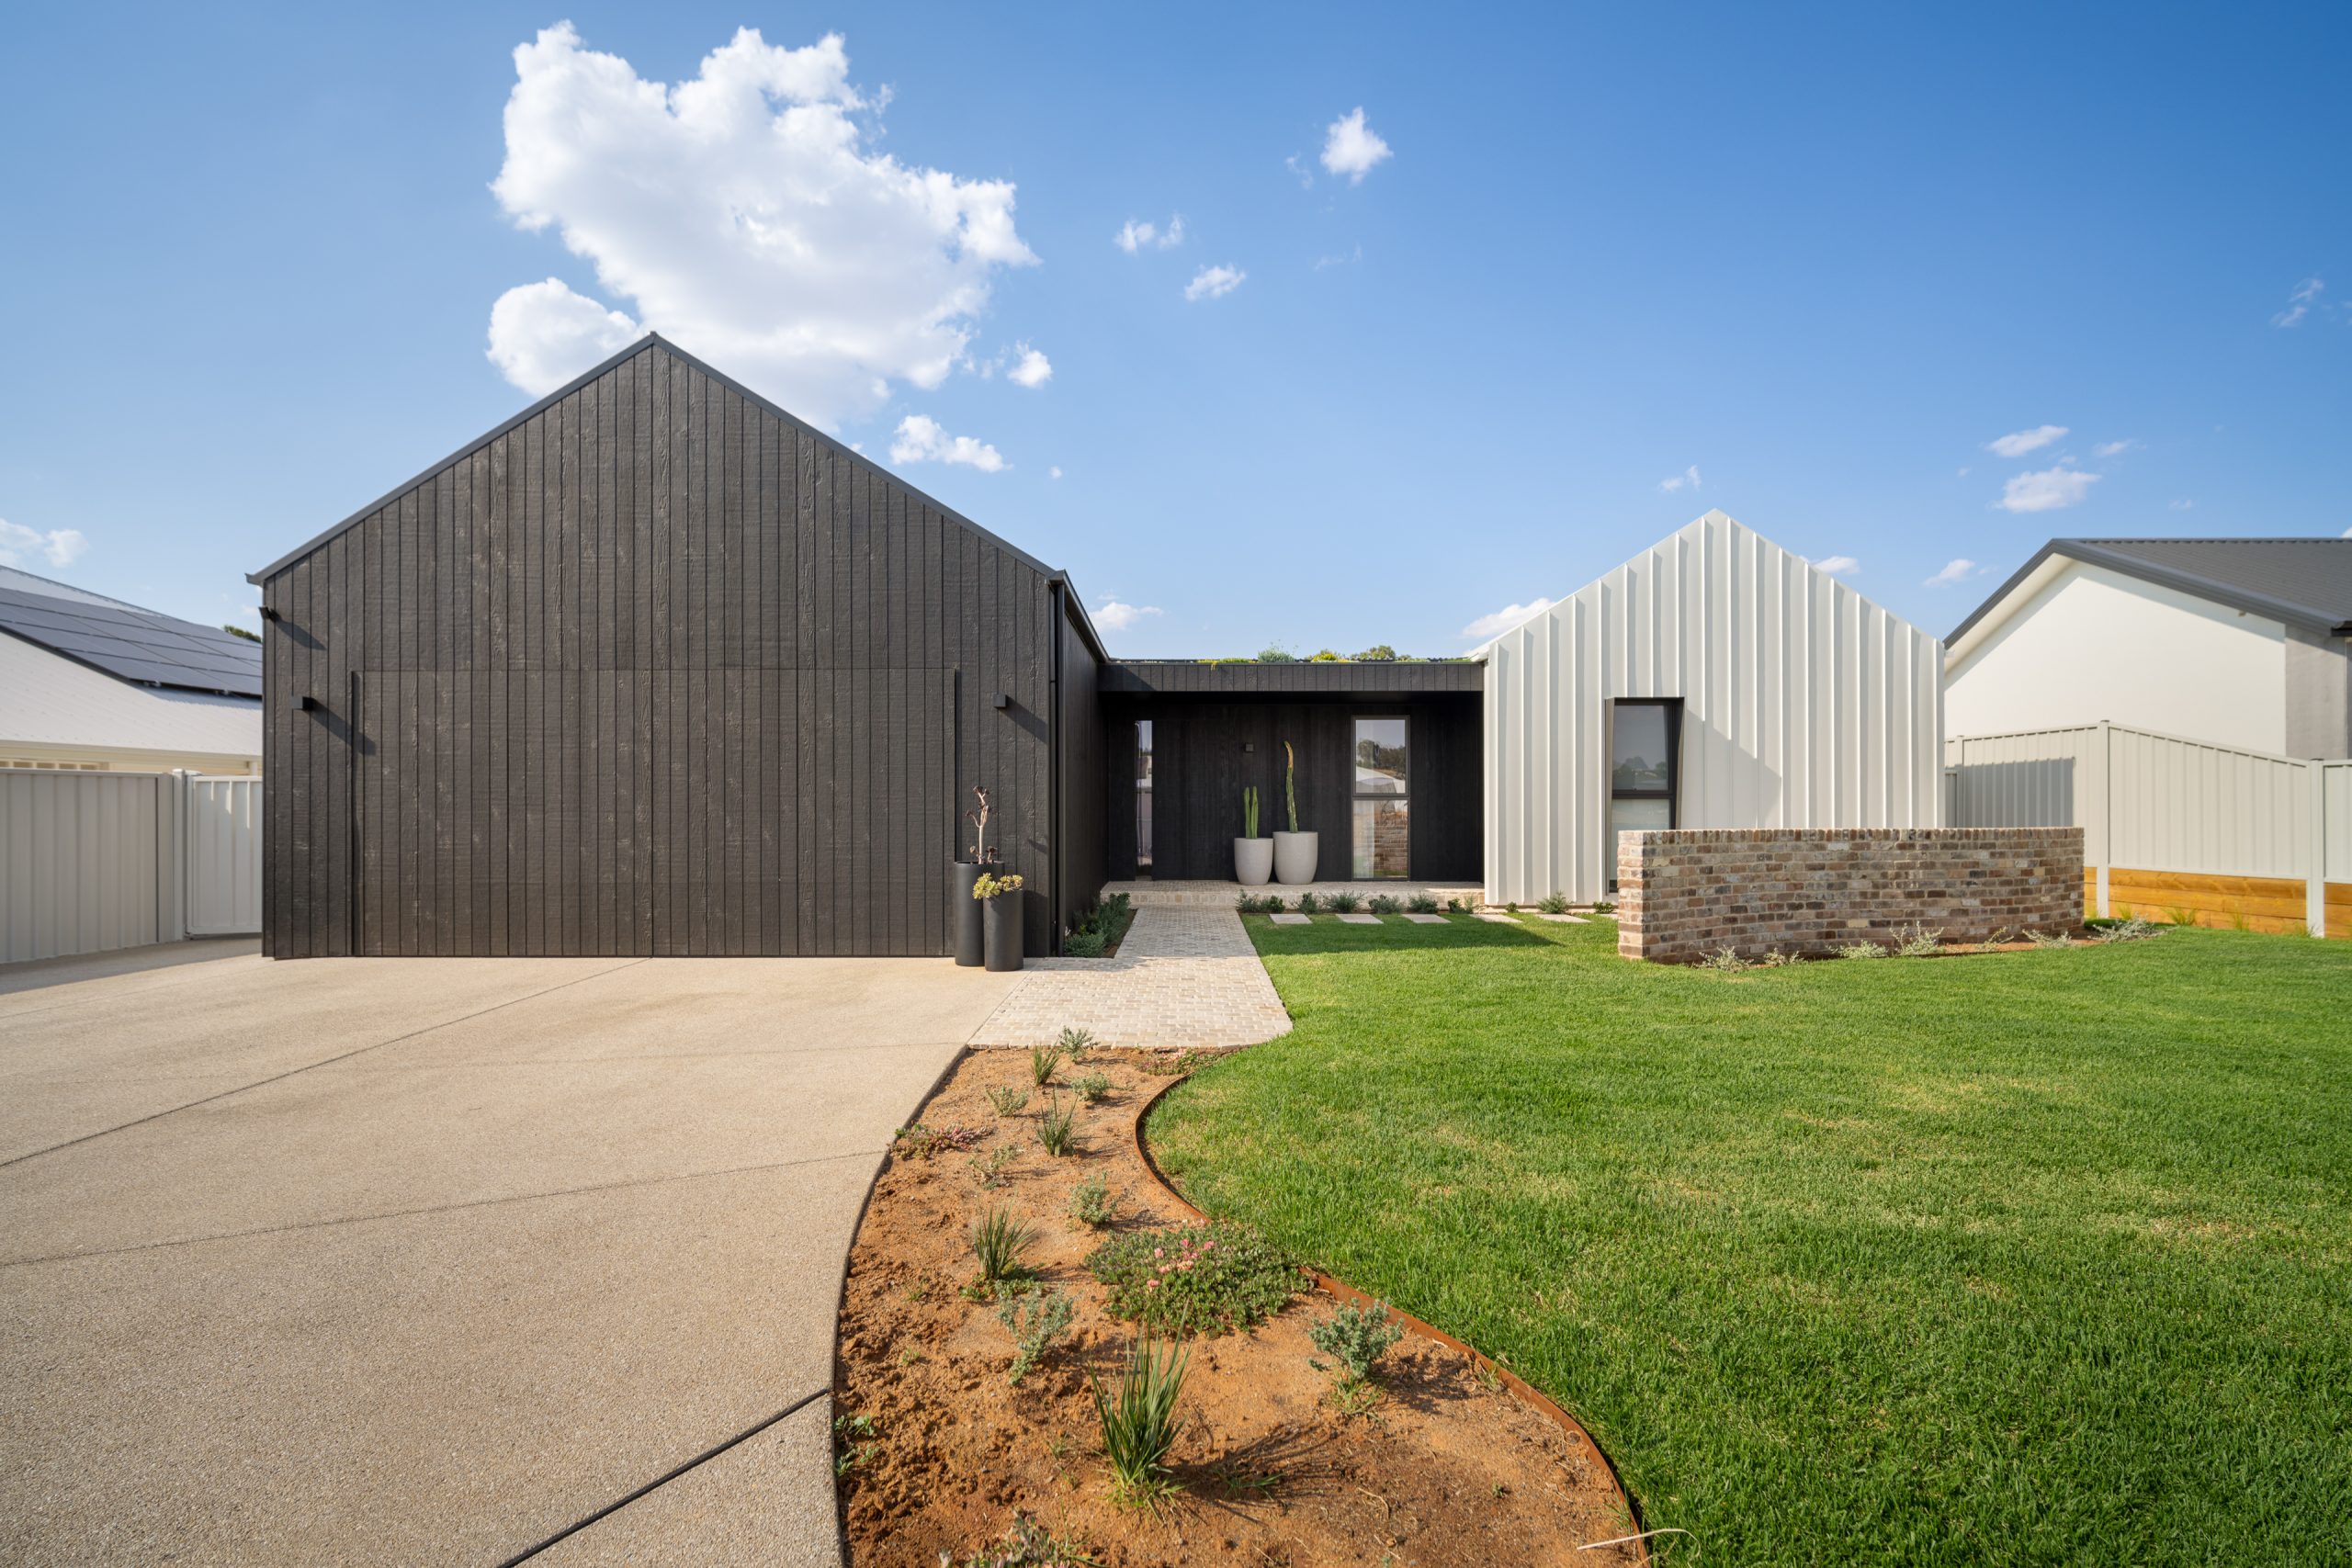
Australia's prefab construction market has moved from novelty to necessity — and for builders working offsite, the right cladding makes all the difference.

When it comes to exterior cladding, Weathertex cladding offers durability and style, but understanding the painting requirements is crucial.

In the ever-evolving world of construction materials, sustainability has become a key consideration for builders and homeowners alike.

FSA FIRECOAT have developed a paint product that makes Weathertex BAL-29, a revolutionary product that will protect your Weathertex cladding and your home.

Wondering about the difference between our Natural and Pre-primed cladding products and whether painting or staining is required? Should you consider purchasing Woodsman finish or natural?
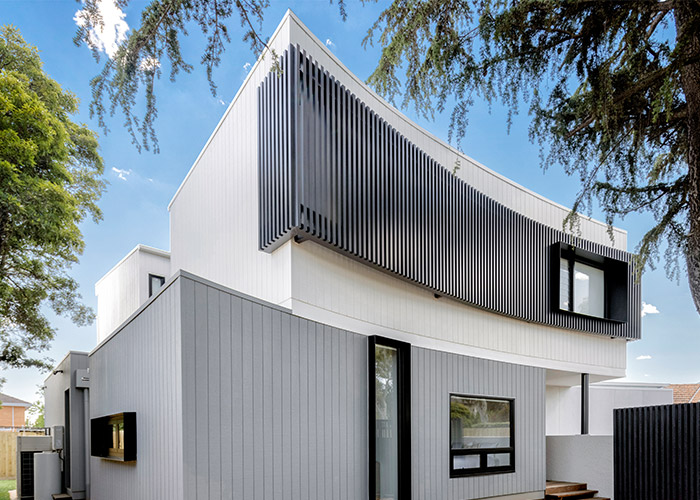
Specifiers often favour curvilinear designs to reflect a sense of fluidity from the natural surroundings of a building, such as the ocean or forest. Curves can also soften the impact of the building on the surroundings

The Weathertex Natural Range is a series of unprimed weatherboards, cladding and architectural panels. The unprimed boards provide a unique appearance, with the characteristics of raw undressed timber.

Newsletter

Sign up for exclusive Weathertex tips and trends sent straight to your inbox

Sign up for exclusive Weathertex tips and trends sent straight to your inbox

    Weathertex logo

    Subscribe

    Sign up for exclusive Weathertex tips and trends sent straight to your inbox

    Chat with us Chat Icon